

Published on: May 11, 2018 @ 20:57
Each room has four walls and it's time we start making some use of them. If you've ever walked into a room covered in playful, vibrant patterns or unexpected motifs than you've probably noticed just how much character it adds to the home. It's spectacular how a splash of color or pattern on a wall can make the room come to life!
The greatest part about it? Wallpaper is the quickest and easiest way to instantly add style to your home and the options are limitless. Whatever your style, there is gorgeous wall-covering to match it.
ADVENTURE IS WAITING
When it comes to beauty nothing can beat the beauty of nature. Most people choose this type of scenery as a screensaver on their computer, but why not go even further? Choosing a nature wallpaper just might be for you if you can't seem to get enough of the outdoors. It's a great way to escape the chaos of everyday life, even from the inside of your own home. Add some flowers, greenery, sea shells, or whatever your heart desires to help make the piece seem real.

CONSISTENCY WITHOUT THE HASSLE
If you like the look of a texture decor idea then textured material such as wood, stone, tile, or brick might be on your list. Unfortunately, to cover the whole wall with material of your choosing can be fairly expensive, along with having a long installation process. These realistic wallpapers are now changing the game. Check out some of our options!
LET'S GET CREATIVE!
We often make the mistake of thinking that by changing one wall, it will completely distort the perception of a room. The days of having one consistent pattern throughout a room are a thing of the past. Don't be afraid and get creative by adding two wallpapers for one wall to complement each other.

ANIMAL LOVERS WE HAVEN’T FORGOT YOU
From childhood to adulthood my love for animals hasn’t changed, I doubt yours has either. Whether you work in a career field with animals or are just passionate about them, what better way to show your love than having a trendy animal wallpaper.

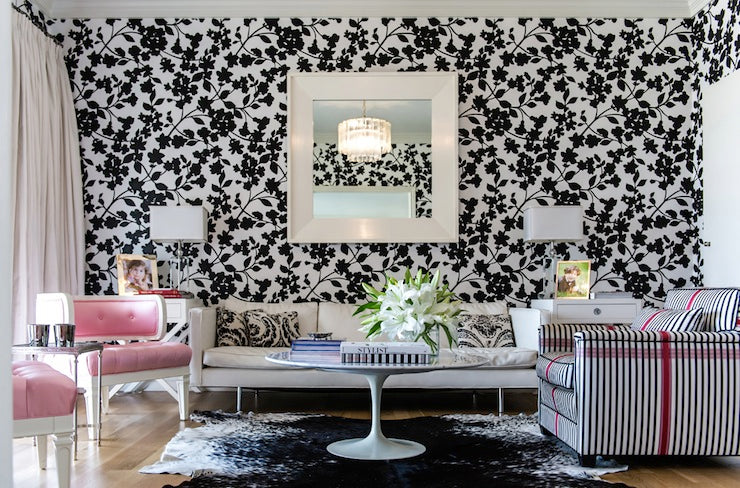
BLACK & WHITE
Black and White films might be out the window but we’re keeping the idea and pulling it back in and onto our walls! These wallpapers can surely meet anyone’s “vibe” whether it’s elegant, retro, modern, or classic. Black and White wallpaper designs fill the room with depth and character. These timeless designs will never be overlooked.
Wallpaper is not only doable but can also be quiet fun! Fair warning though, no one has ever stated it doing it alone. Having a friend or two helps make this process easier, but hey the more the merrier right?
Here are some tips that you might not think about before giving your walls their true meaning:
- It’s best to smooth the bare wall as best as possible, most people recommend that sandpaper does the trick. Then, apply a wall primer. As this takes time to dry, cover the floor with a clean plastic tarp.
- If preparing a whole wall, cut vertical strips about 4 inches taller than the intended wall height. (Don’t worry, once the paper is up you’ll trim the excess off.) Place the strips on the floor making sure the pieces are lined up evenly and correctly, gently tape them together to hold in place.
- Use a tape measure and a pencil to mark where on the wall that the paper is going to be placed.
- Pour premixed wallpaper paint into a paint roller tray. Use a small paint roller to glide the glue onto the wallpaper evenly and easily. Some wallpaper already comes pre-pasted, as a precaution read the instructions but normally it requires to be dampened.
- Next, apply the strips one at a time. It’s best if you start with the center of the wall moving outward. Use an 8-inch plastic smoother to help with reducing air bubbles. For larger strips you’ll want to use a ladder and start at the top. This is where it’s great to have a helper because they will hold the bottom in place as you work your way down. Make sure each strip does not overlap each other, you want the strips to be perfectly a lined without any space between them.
- After placing the piece, you have about a 10 to 15-minute time span to perfect the pieces from misalignment or air bubbles. Make sure to push any bubbles out toward the borders.
- Use a dampened natural sponge to wash off any extra glue, continuing to smooth out the wallpaper as you go.
- Celebrate with a high-five and a cocktail.